Documents role guides — what each role can do, step by step
Step-by-step guides for the vault — the records manager who files and keeps, the employee who sees only their own, and the administrator who decides who sees what. 12 steps across 3 roles, every one of them carried out in the product before it was published here.
Nothing matches that. Try a shorter word, or pick All roles to search every guide.
Go deeper
Records Manager
Every document findable, and every one of them kept exactly as long as it should be.
Curates the vault: what is filed, how long it is kept, what is on legal hold, and who may see any of it.
What you will be able to do
- File into the right workspace, with retention applied for you
- Find a document by a word inside it, not by remembering the folder
- See what changed recently without hunting
- Know who can see what, before somebody asks
What this role can and cannot do
| Can | Cannot |
|---|---|
|
|
5 steps, each one carried out in the product on .
Check what your sign-in can do #
Where Your name, top right » Profile
- Open your company's address in the browser — it looks like yourcompany.tarleaks.com.
- Type the e-mail address your administrator set up for you, then your password.
- You land on the app launcher: a grid of the apps your company uses.
- Click your name, top right.
- Choose Profile.
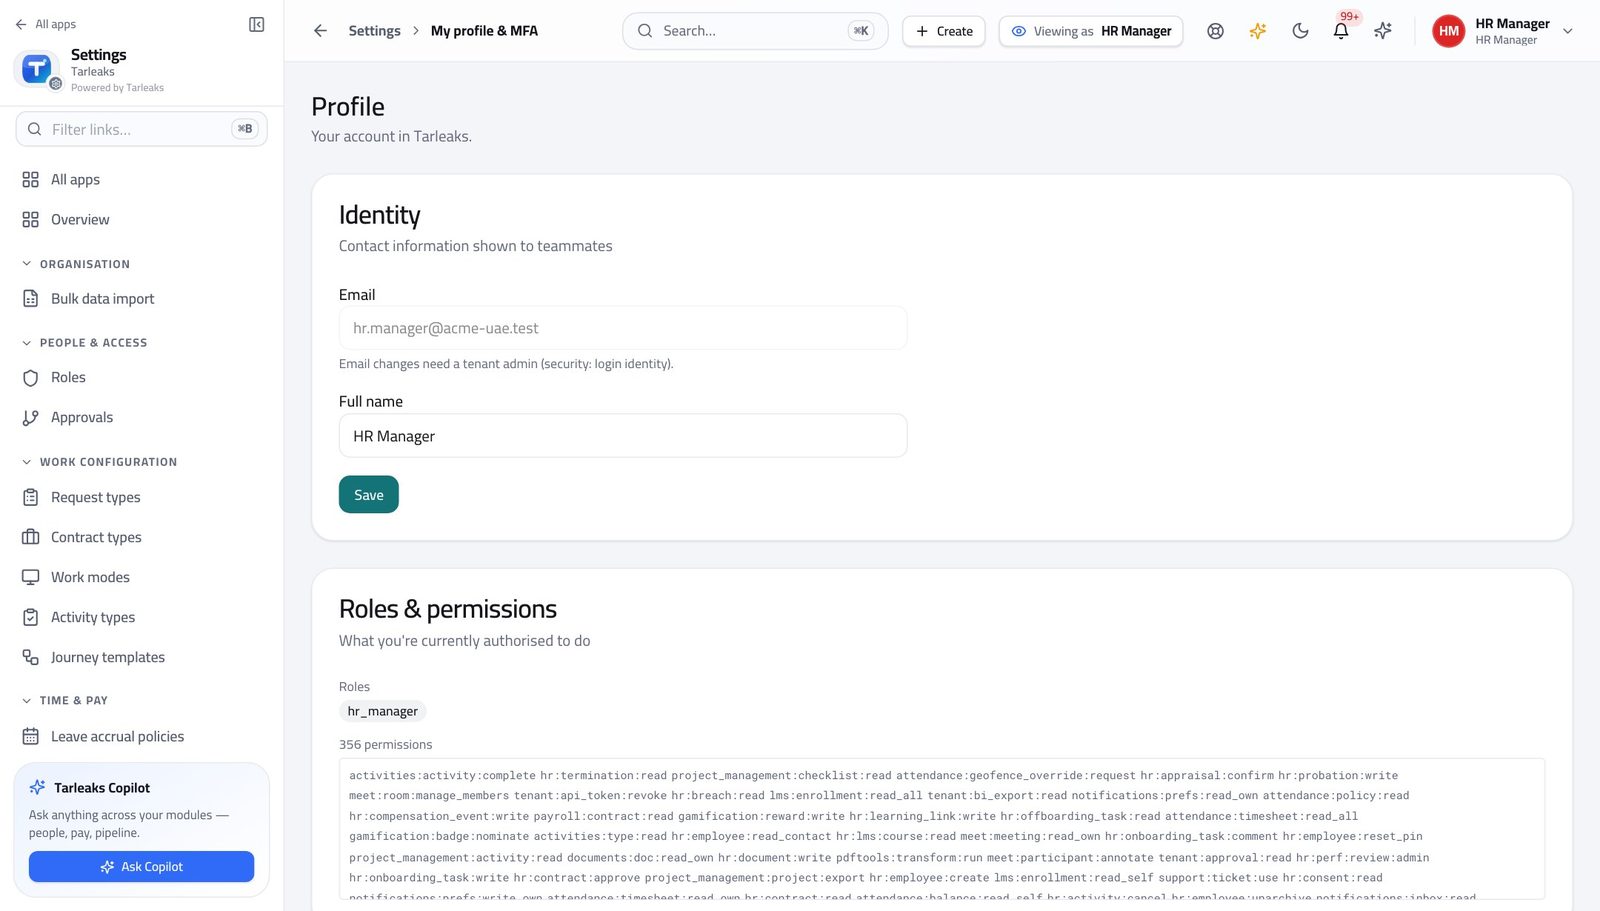
You should see Filing, retention and legal holds sit with this role.
Open the vault #
Where Documents » Home
- From the launcher, click the Documents tile.
- Read the workspaces: each is a separate area with its own access.
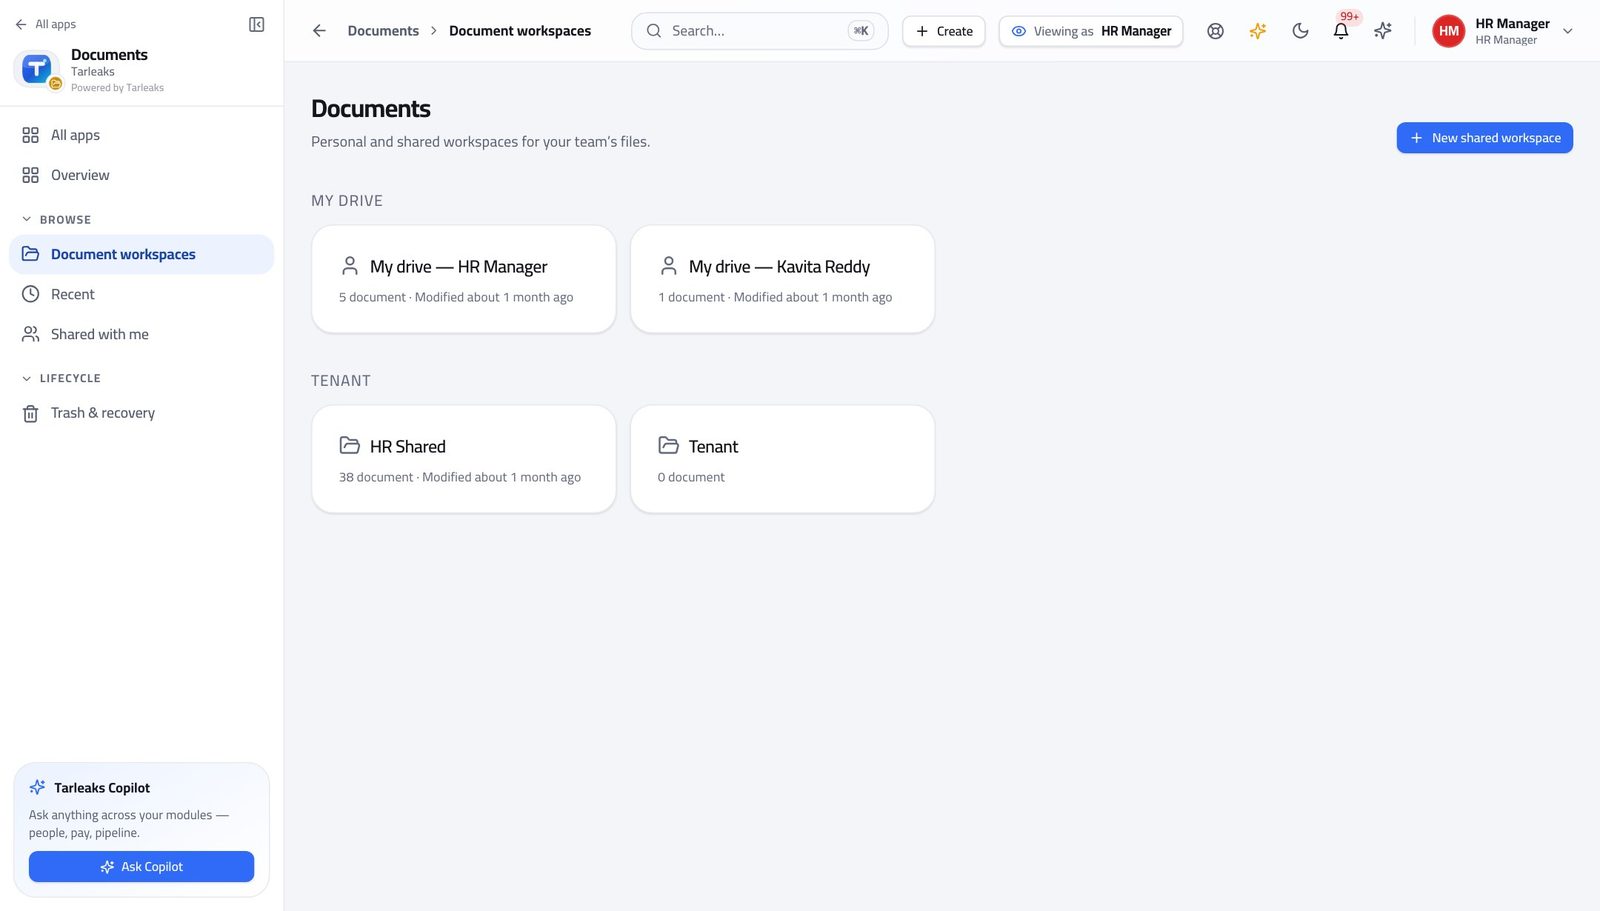
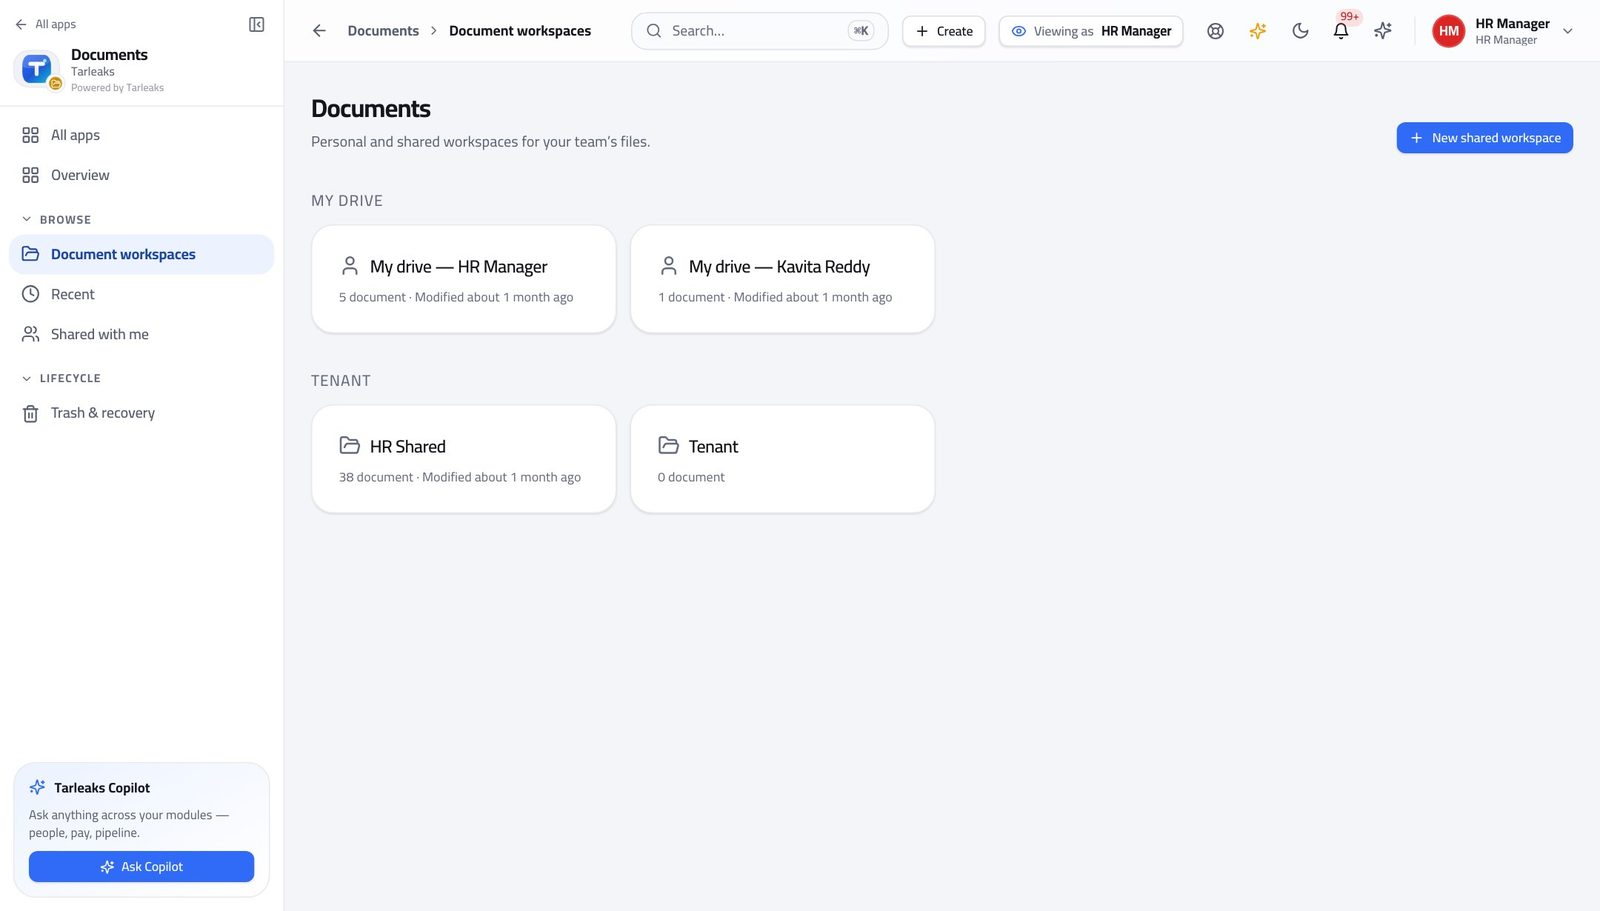
You should see A workspace is the unit of access: people are given a workspace, not forty individual files.
Work inside a workspace #
Where Documents » a workspace
- Open a workspace.
- Use the folder tree on the left and the file list on the right.
- Open a file to see its versions and its history.
You should see Everything about a file — versions, who opened it, what was extracted from it — hangs off the file itself.
Watch out A new version never overwrites the old one; both stay, which is what makes 'we sent the wrong version' recoverable.
Find a document by what is inside it #
Where Documents » Search
- Open Search.
- Type a word from inside the document — an invoice number, a name, a clause.
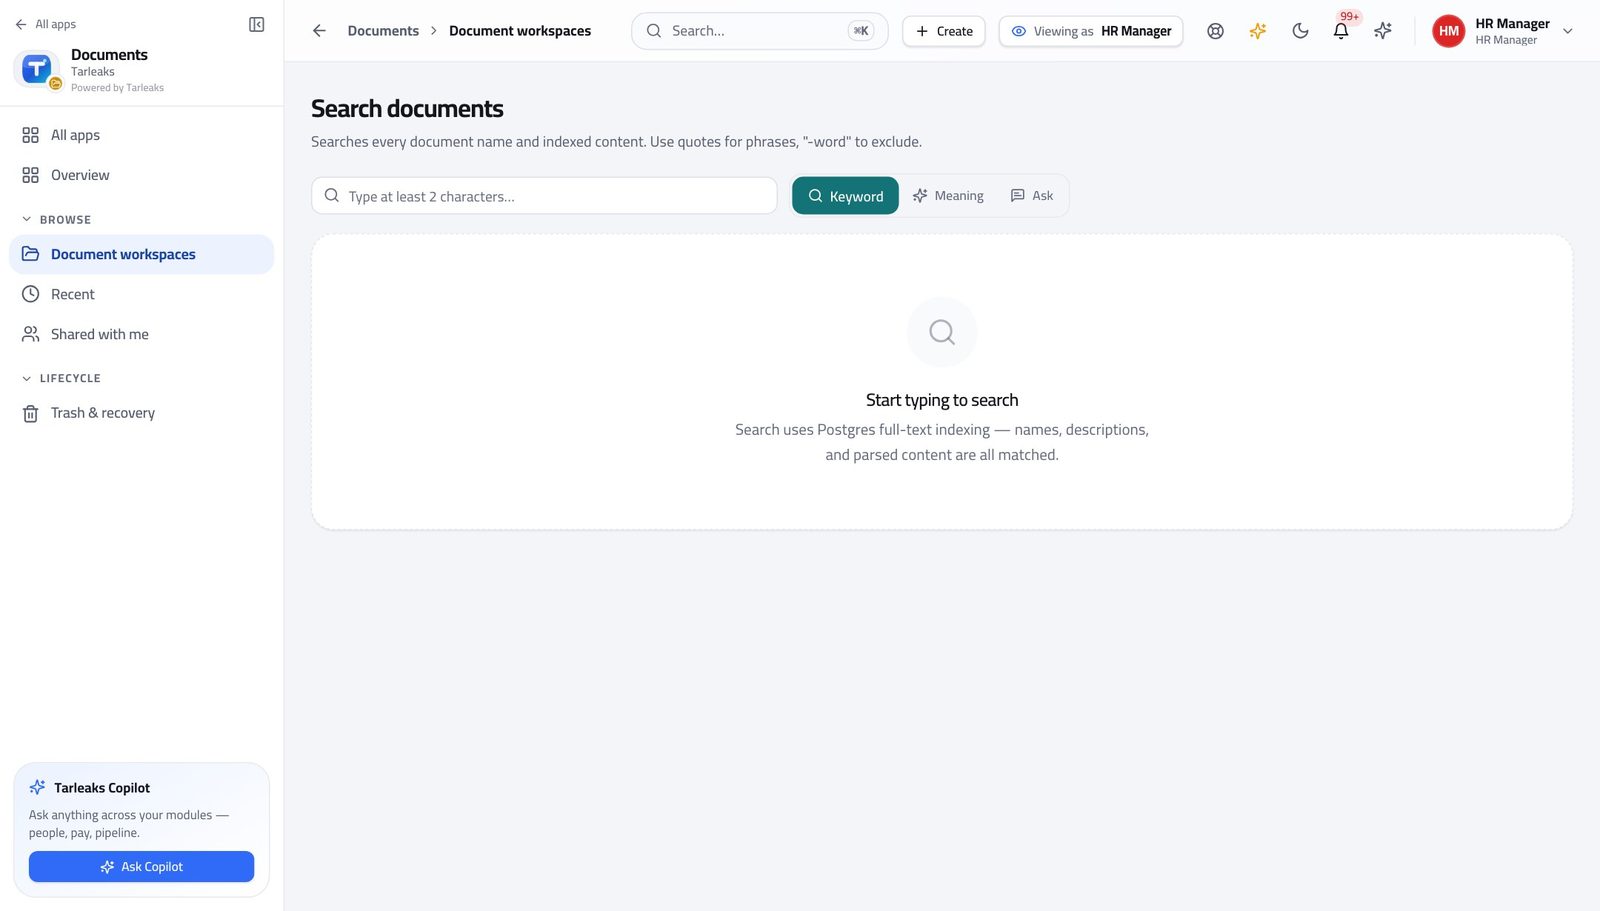
You should see Text inside uploaded files is indexed, so you can find the invoice by its number rather than by where somebody filed it.
Watch out Scans uploaded before text extraction was switched on are not searchable until they are re-extracted.
Worth knowing If a scan does not come back, it was uploaded before text extraction was enabled — re-extract it from the document itself.
See what changed lately #
Where Documents » Recent
- Open Recent.
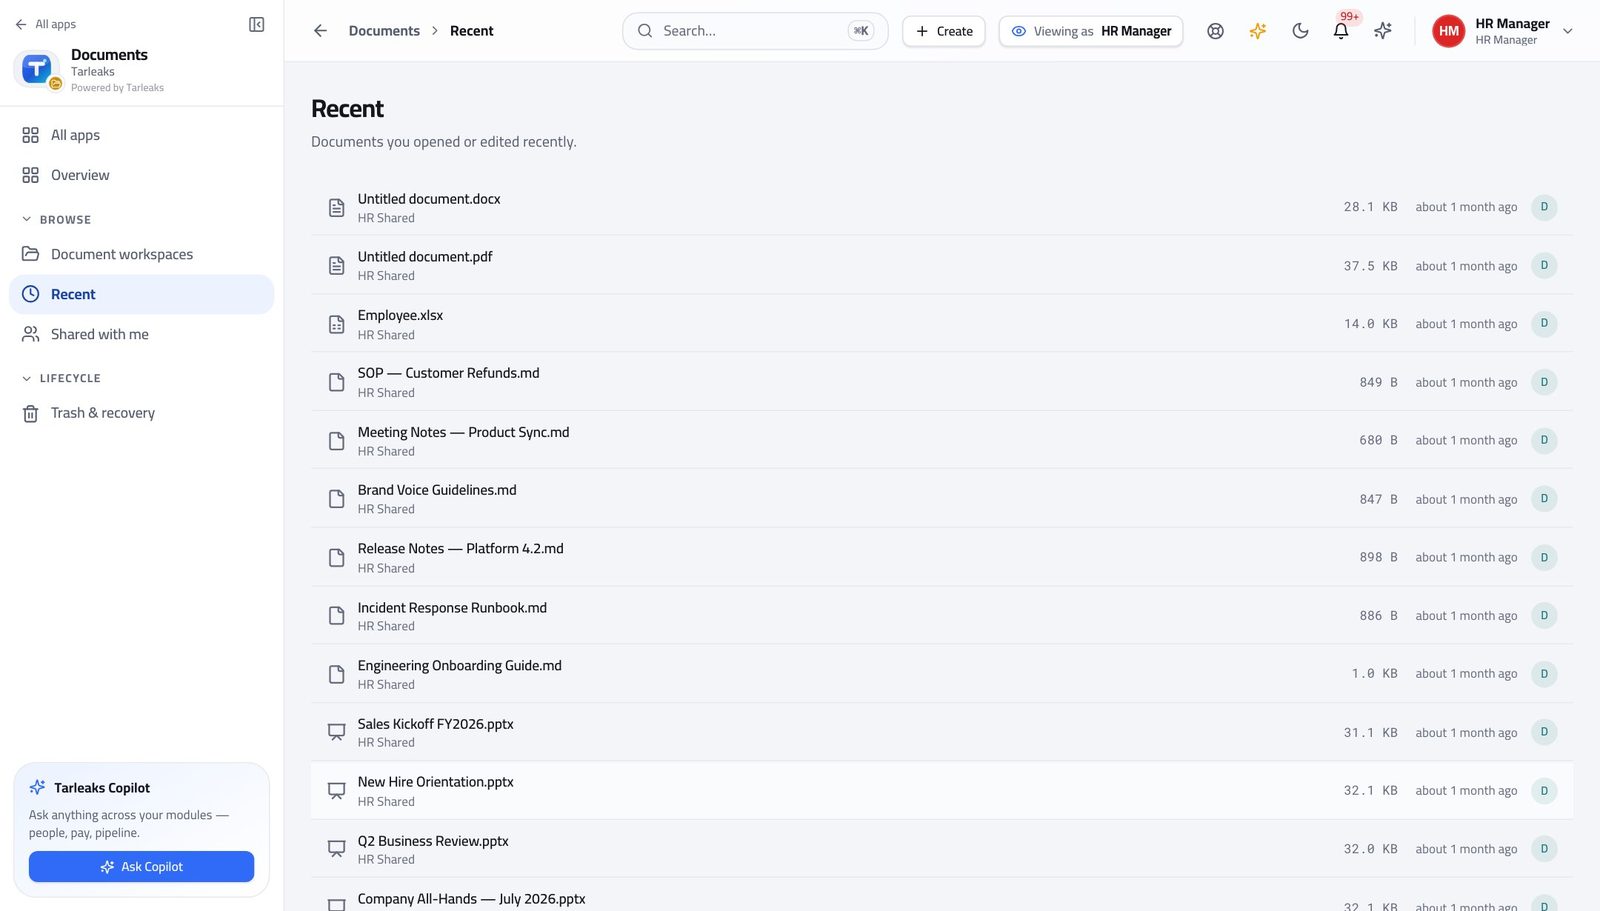
You should see The fastest way back to the thing you were working on yesterday.
Use cases — the work, step by step
Each one is a sequence somebody actually performs, with the screen behind every step. Every screen here was opened in the product as this role before it was published.
dailyFile something so it can be found again #
A document nobody can find is the same as a document nobody kept — and the type you choose decides how long it is kept for.
Open Documents and pick the workspace the file belongs to. The workspace is the access decision.
Documents » Home — verified: the page says “Document” Open the workspace and file it into the right folder; the file keeps its versions and its history.
Documents » a workspace — verified: the page says “Document” Prove it is findable: search for a word from inside it rather than its name.
Documents » Search — verified: the page says “Search”
weeklyFind what changed while you were away #
Recent is faster than remembering which folder somebody used.
Open Recent and read what was added or changed, newest first.
Documents » Recent — verified: the page says “Recent” Open anything unfamiliar and check who touched it last.
Documents » a workspace — verified: the page says “Document”
Nothing is hard-deleted here. Destruction happens through retention, and a legal hold stops it — which is the difference between an archive and a shared drive.
Employee
Your documents, and the ones people meant to give you.
Your own documents, and the ones shared with you — nothing else.
What you will be able to do
- See your own files in one place
- Open what a colleague shared with you
- Know that nothing else is visible to you — or you to anyone else
What this role can and cannot do
| Can | Cannot |
|---|---|
|
|
3 steps, each one carried out in the product on .
Check what your sign-in can do #
Where Your name, top right » Profile
- Open your company's address in the browser — it looks like yourcompany.tarleaks.com.
- Type the e-mail address your administrator set up for you, then your password.
- You land on the app launcher: a grid of the apps your company uses.
- Click your name, top right.
- Choose Profile.
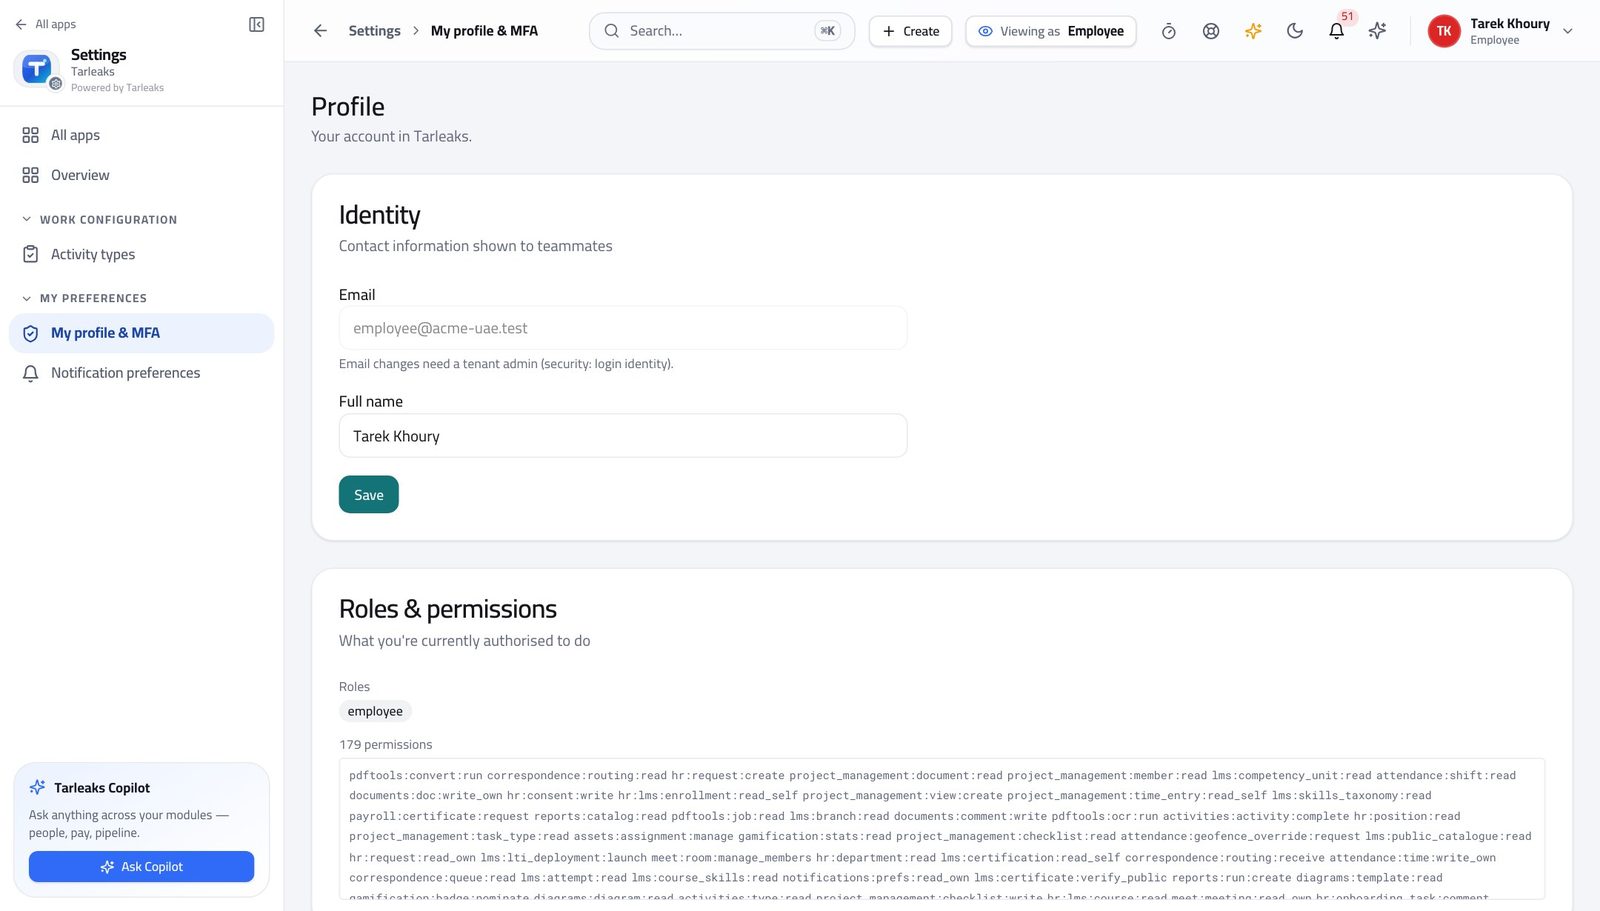
You should see You can see your own documents and the ones shared with you.
Open your documents #
Where Documents » Home
- Open Documents from the launcher.
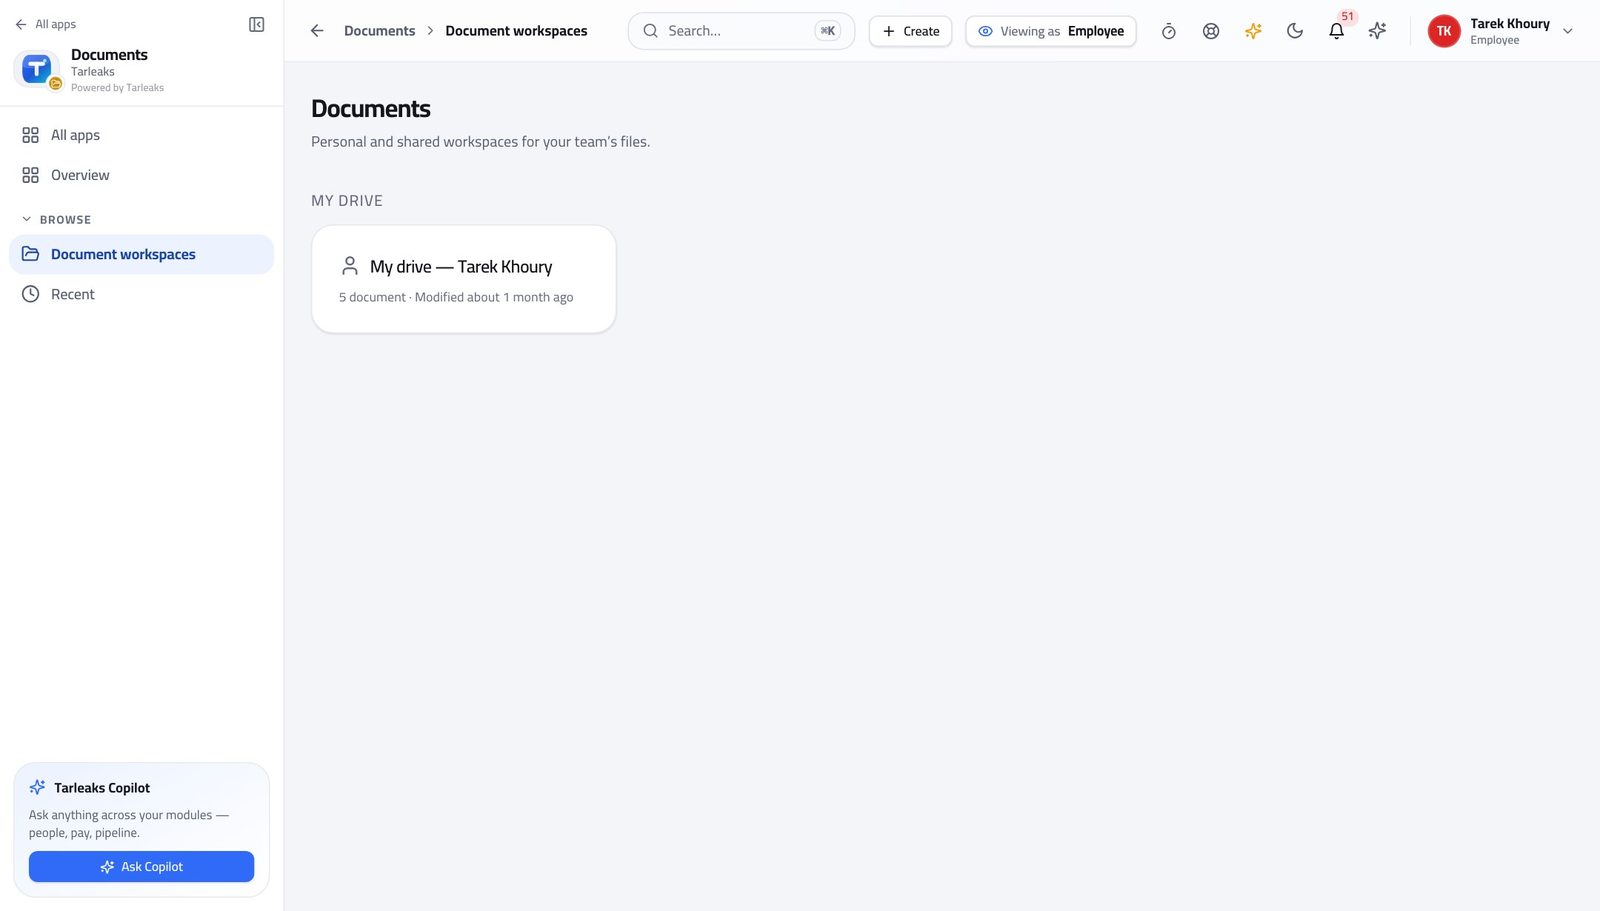
You should see Nothing you should not have is listed — the vault decides that, not a folder name.
See what somebody shared with you #
Where Documents » Shared with me
- Open Shared with me.
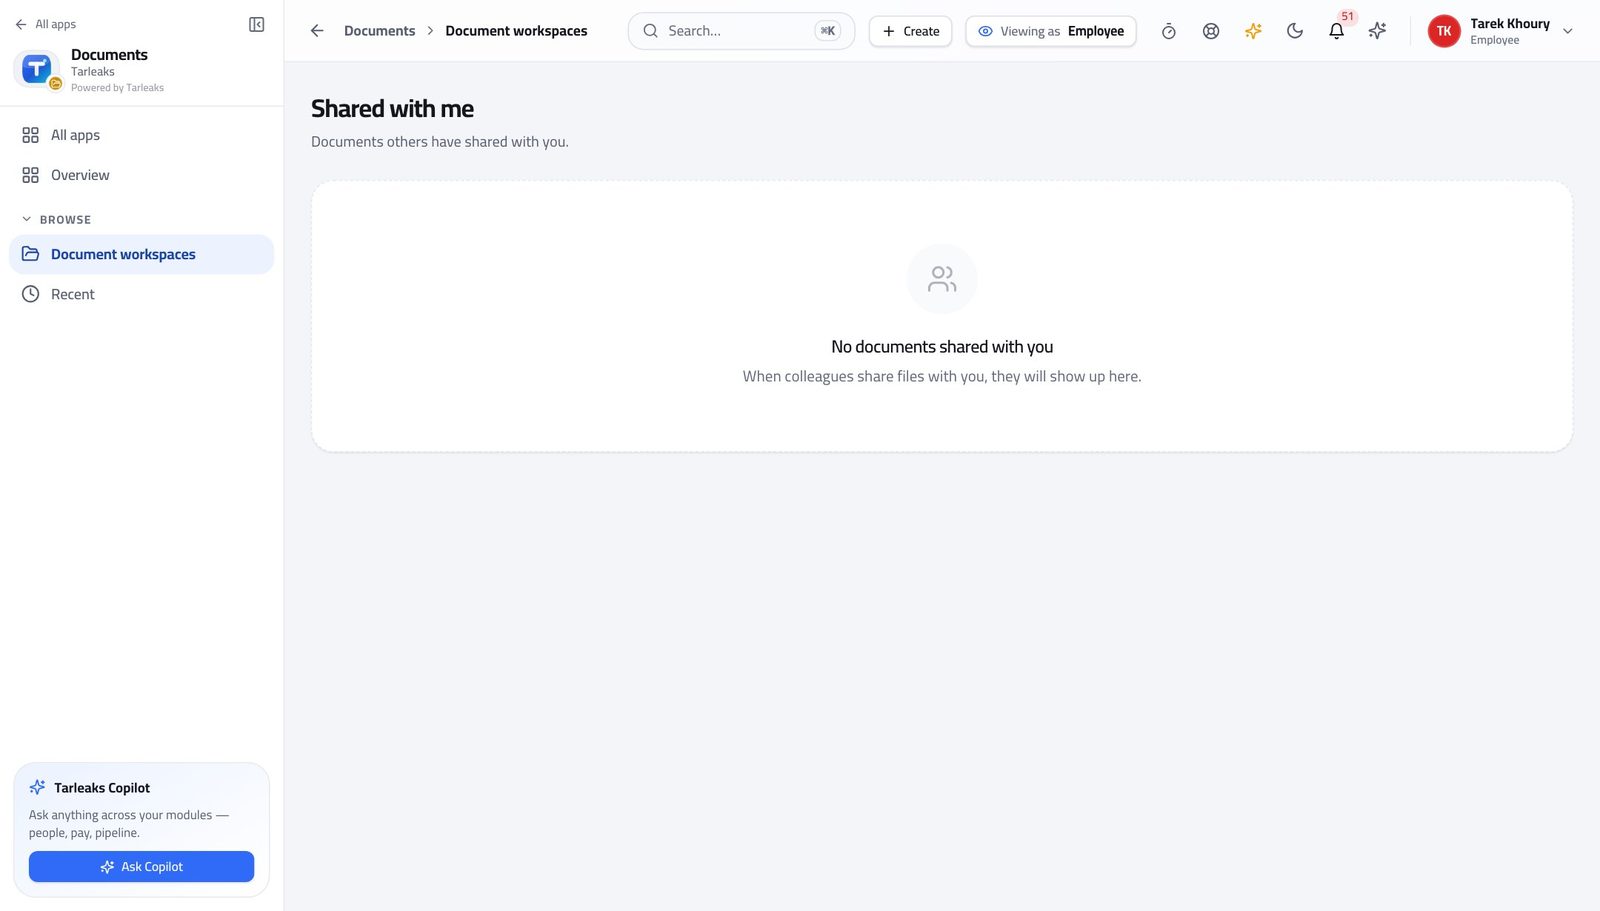
You should see A share is a deliberate act with a record, not a link somebody forwarded.
Watch out If you cannot open something a colleague says they shared, they shared the workspace rather than the file, or the other way round.
Use cases — the work, step by step
Each one is a sequence somebody actually performs, with the screen behind every step. Every screen here was opened in the product as this role before it was published.
dailyFind the document a colleague sent you #
A share is a deliberate act with a record — not a link in an e-mail you have to keep.
Open Documents; you see your own workspace and anything you were added to.
Documents » Home — verified: the page says “Document” Open Shared with me for files somebody gave you specifically, with who shared them and when.
Documents » Shared with me — verified: the page says “Shared”
You see your own workspace and what was deliberately shared. The same rule keeps your documents out of everybody else's search.
Tenant Administrator
Shape the vault once: who gets a workspace, and what happens to a file over time.
Shapes the vault: workspaces, document types, retention and where the files are actually stored.
What you will be able to do
- Create workspaces, which are the unit of access
- Read who can see what, in one screen
- Recover something deleted by mistake
- Decide where the files are actually stored
What this role can and cannot do
| Can | Cannot |
|---|---|
|
|
4 steps, each one carried out in the product on .
Check what your sign-in can do #
Where Your name, top right » Profile
- Open your company's address in the browser — it looks like yourcompany.tarleaks.com.
- Type the e-mail address your administrator set up for you, then your password.
- You land on the app launcher: a grid of the apps your company uses.
- Click your name, top right.
- Choose Profile.
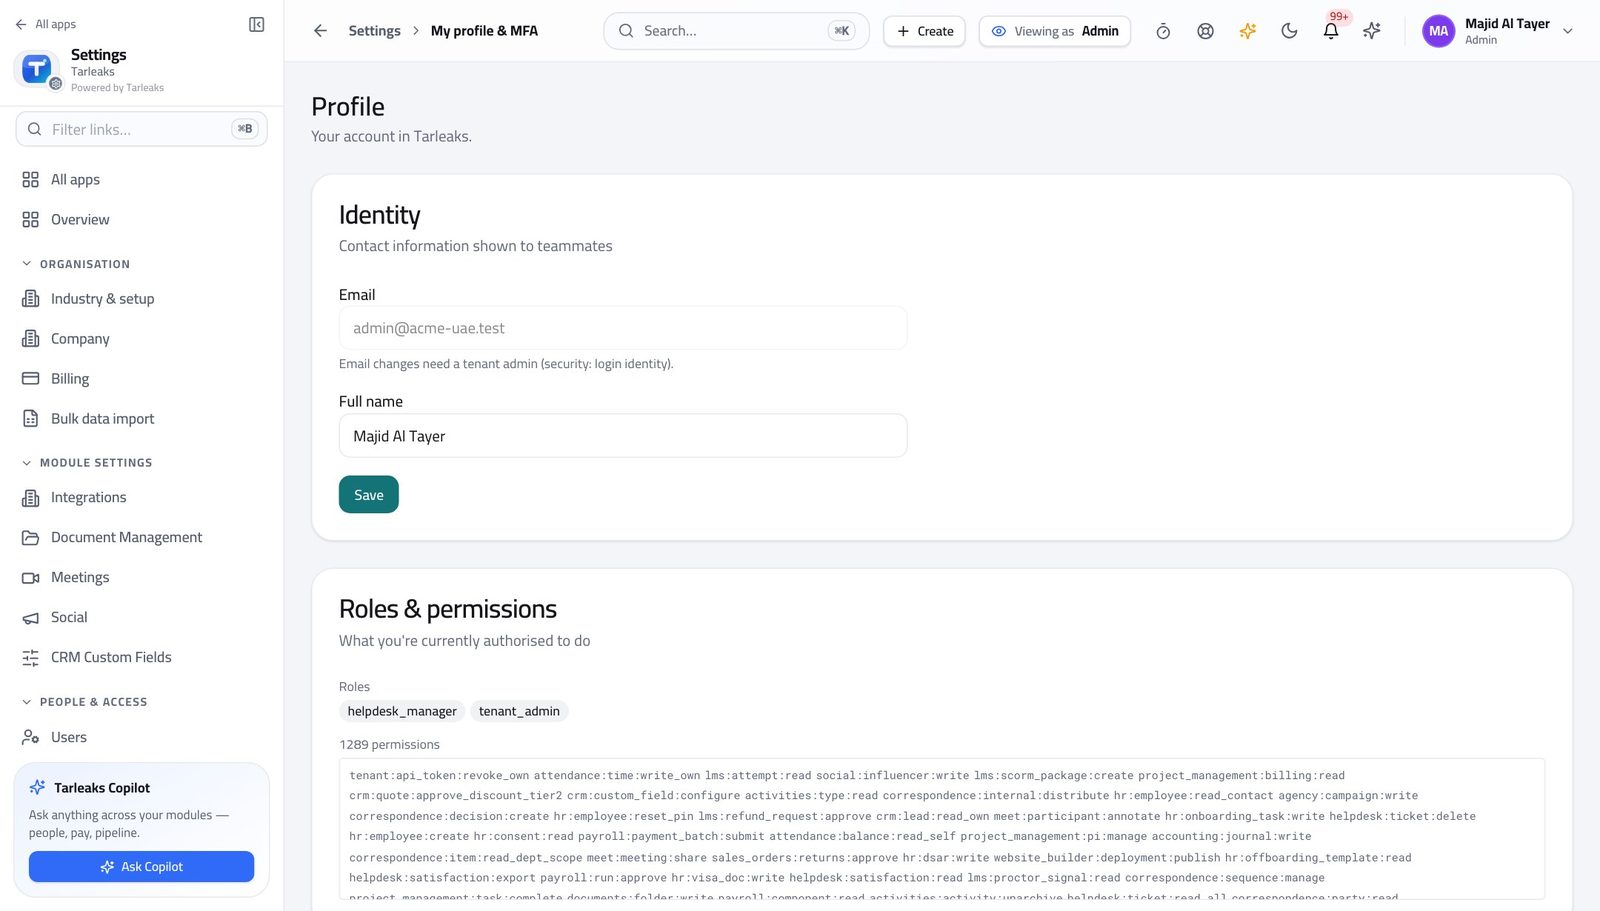
You should see Workspaces, access and storage are yours.
Create a workspace #
Where Documents » Home
- Open Documents.
- Create a workspace for the area — one per team, project or client.
- Add the people who need it.
| Field | What to put in it |
|---|---|
| Name | What the area is called in conversation — 'HR', 'Client: Emirates Steel' — not a code. |
| Members | Who gets sight of everything inside it. This is the access decision; the files inherit it. |
| Description | One line so somebody else knows what belongs here and what does not. |
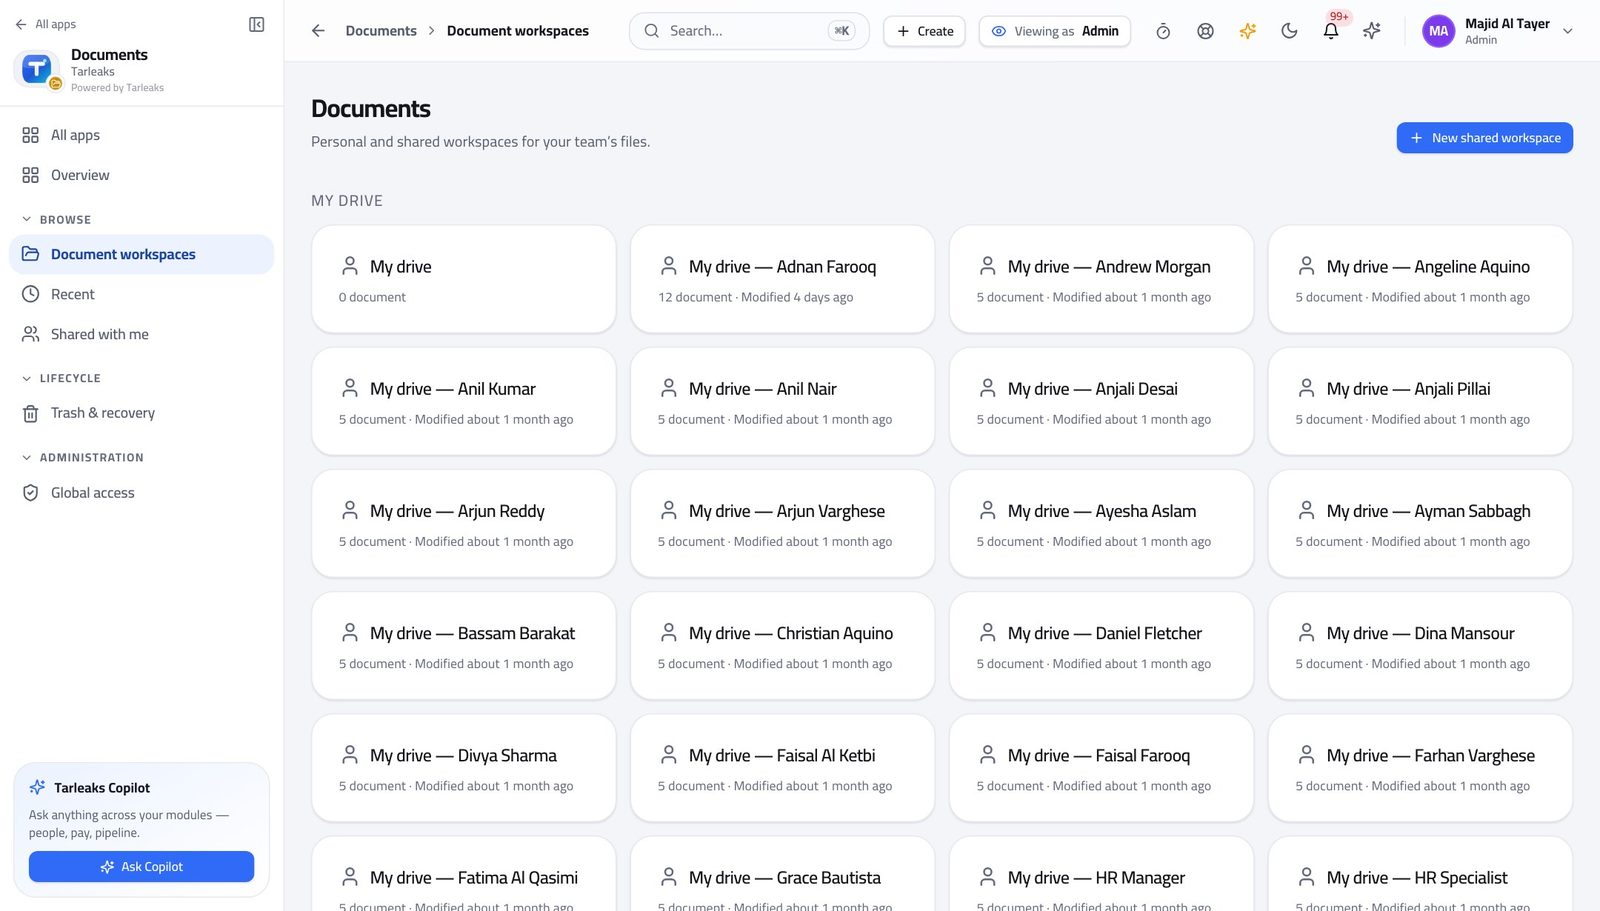
You should see Access is granted per workspace, so getting these boundaries right is most of the work.
Watch out A workspace per document is unusable; a single workspace for everything is a leak. One per team or client is the shape that works.
Read who can see what #
Where Documents » Access
- Open Access.
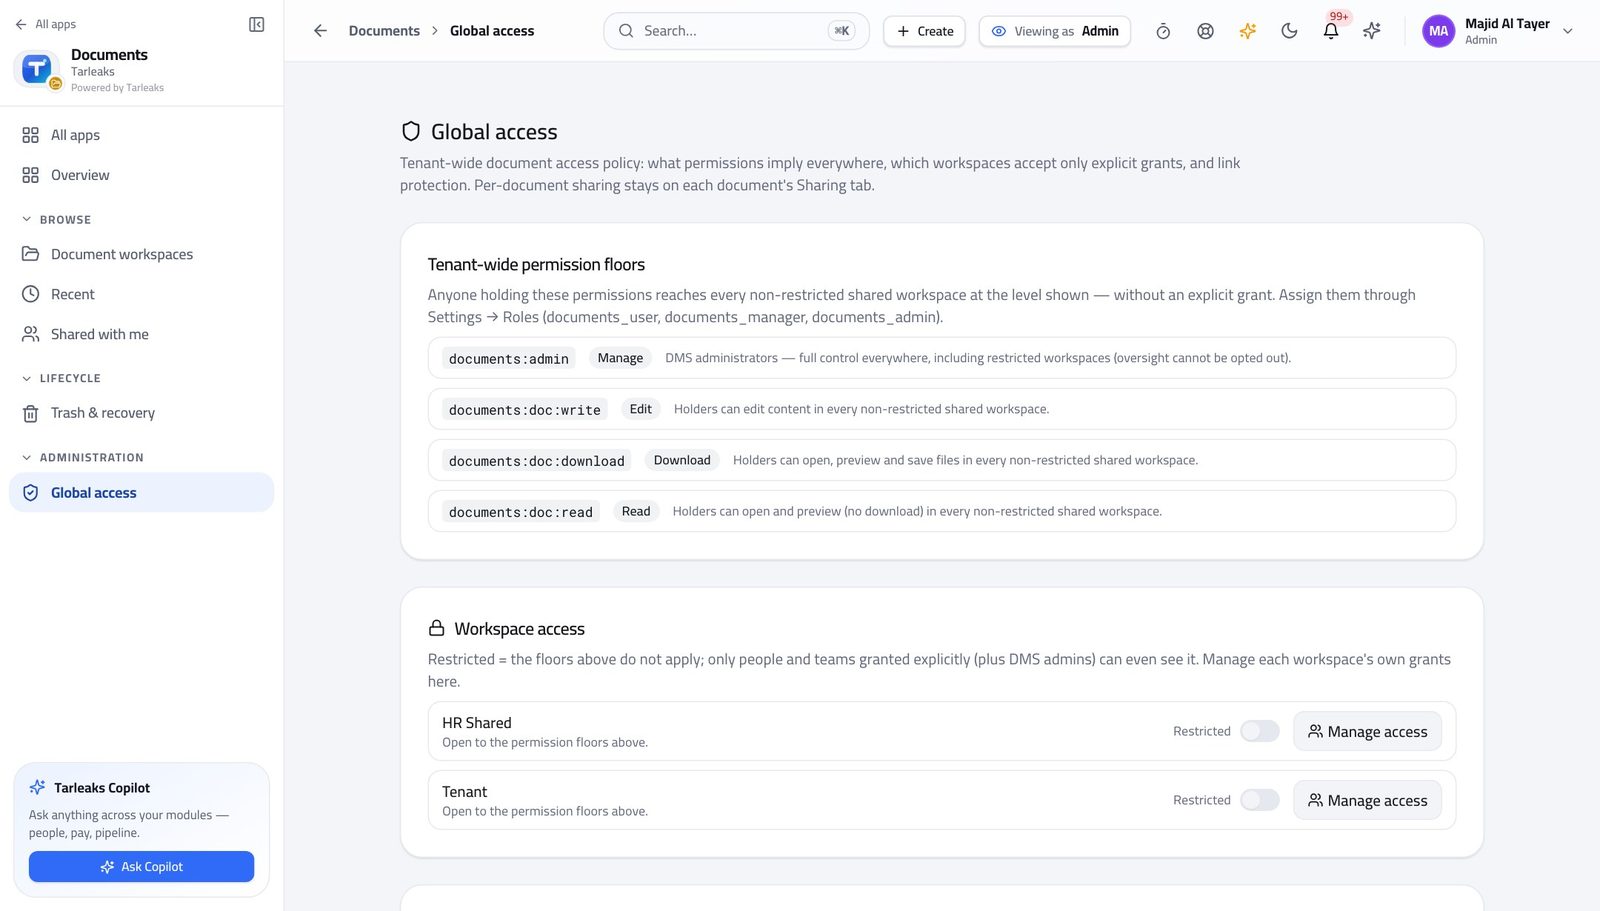
You should see One screen answers the question an auditor asks, instead of opening files one by one.
Recover something deleted by mistake #
Where Documents » Trash
- Open Trash.
- Restore what was deleted by mistake.
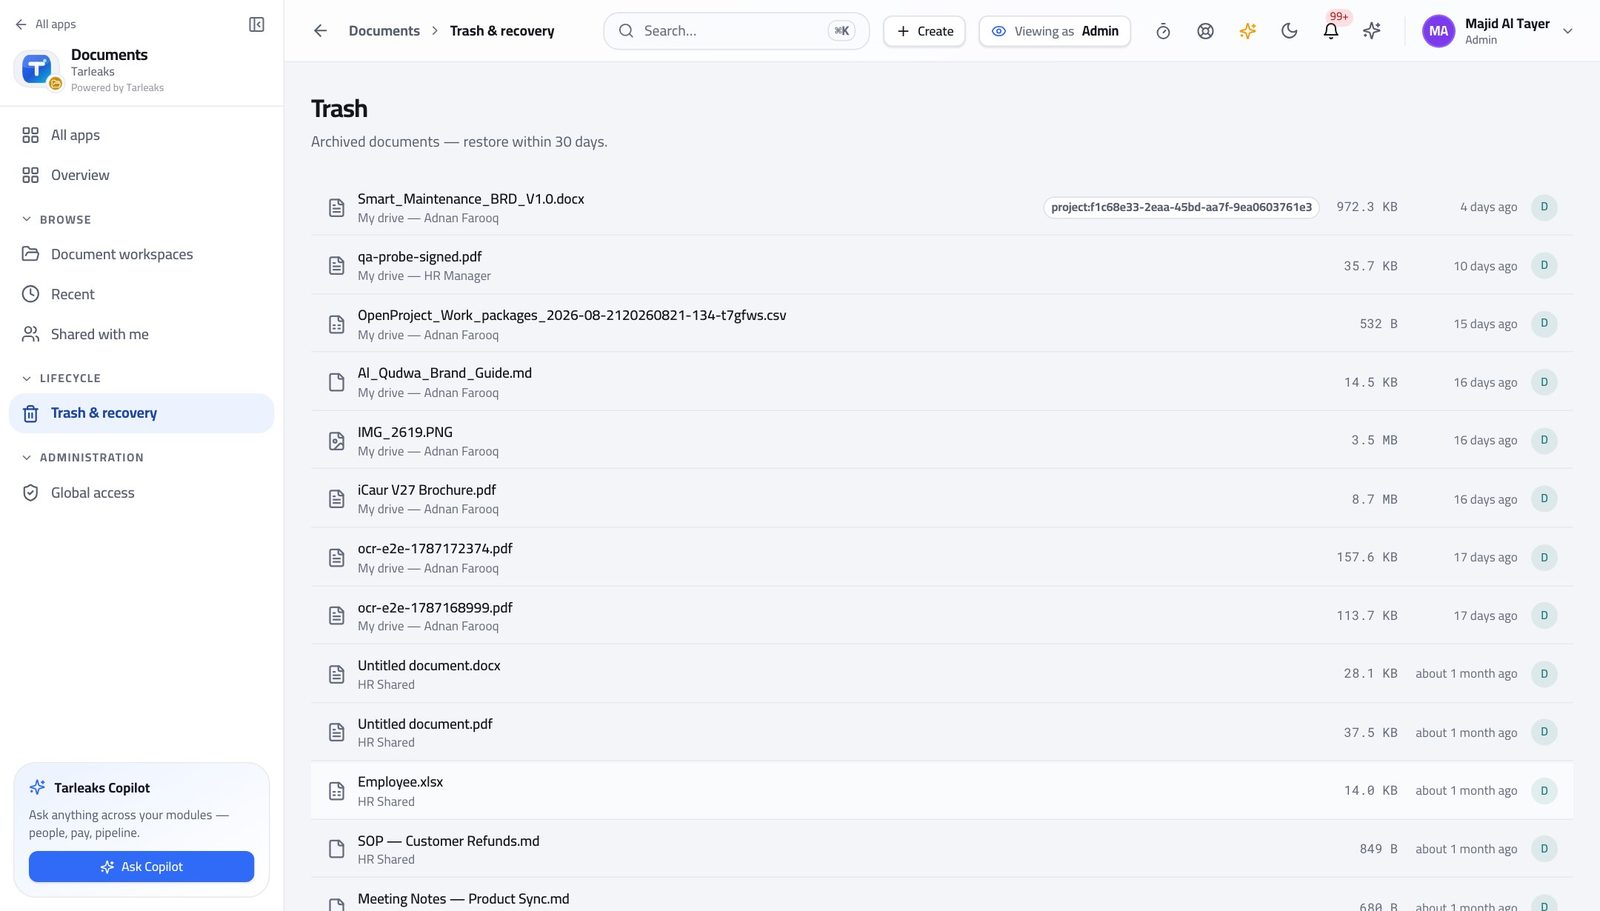
You should see Deleting is reversible; destruction is the retention sweep, and a legal hold stops that.
Watch out A legal hold stops destruction even after retention expires. Place it before the sweep runs, not after.
Use cases — the work, step by step
Each one is a sequence somebody actually performs, with the screen behind every step. Every screen here was opened in the product as this role before it was published.
monthlyGive a new team the right sight of things #
Access is granted per workspace, so a joiner gets forty documents by joining one workspace rather than by being handed forty links.
Create the workspace for the team, project or client.
Documents » Home — verified: the page says “Document” Read the access screen afterwards — it answers 'who can see this' in one place.
Documents » Access — verified: the page says “Access”
urgentSomebody deleted something they should not have #
Deleting is reversible; destruction is the retention sweep, and a legal hold stops that.
Open Trash and restore the file.
Documents » Trash — verified: the page says “Trash” Check who could reach it in the first place, and fix the workspace membership rather than the file.
Documents » Access — verified: the page says “Access”
Access is granted per workspace rather than per file, so a new joiner gets the right sight of things by joining a workspace, not by being given forty documents.